How to Improve Clay Soil for Vegetable Gardening If you live in an area with heavy clay soil, you know the struggle. In the winter, your garden is a sticky,…
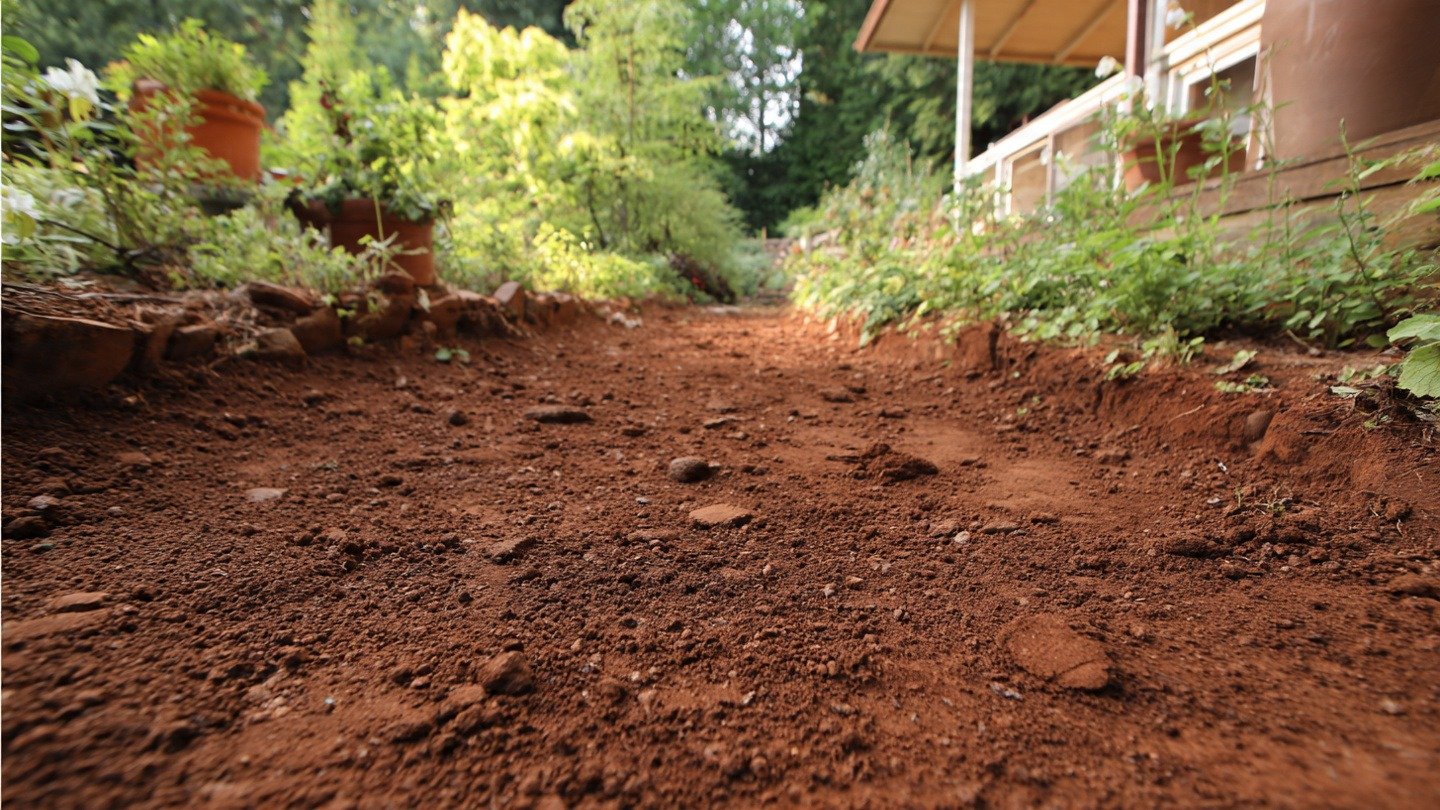
If you live in an area with heavy clay soil, you know the struggle. In the winter, your garden is a sticky, waterlogged mess that sucks the boots right off your feet. In the summer, it dries into a cracked, rock-hard surface that can bend a shovel.
Many beginners think clay soil is a death sentence for vegetable gardening. They are wrong.
Clay soil is actually a goldmine. It is incredibly rich in minerals and holds nutrients far better than sandy soil. The problem isn’t a lack of food; it’s a lack of access. The particles are packed so tightly that delicate plant roots can’t push through to eat.
In this guide, we will show you how to unlock the potential of your clay soil without breaking your back (or your rototiller).
Quick Summary: The “Clay Buster” Method
To fix clay soil, do not till it, as this creates hardpan. Instead, use a broadfork to crack the surface (aeration), top-dress with 4–6 inches of compost/leaf mold, and plant deep-rooting cover crops like Daikon Radish to drill natural tunnels.
The “Clay Paradox”: Why You Should NEVER Till
When faced with hard ground, the instinct is to rent a giant rototiller and churn it up. Stop! Do not do this.
While tilling makes the soil look fluffy for about two weeks, it creates a long-term disaster for clay structure:
Hardpan Creation: The heavy blades of the tiller smash the soil layer below the blades, creating a concrete-like floor called “hardpan” that prevents drainage.
Weed Explosion: Tilling brings thousands of dormant weed seeds to the surface to sprout.
Soil Glazing: When you mix wet clay with high-speed blades, it dries into hard, brick-like clumps.
Instead, we use a No-Till approach that mimics nature.
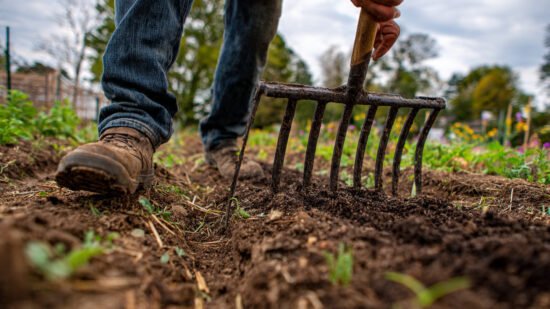
Step 1: The “Broadfork” Method (Aeration)
Since we aren’t blending the soil, we need another way to get oxygen down to the roots.
The Tool: Use a “Broadfork” or a simple heavy-duty garden digging fork.
The Action: Push the tines deep into the ground. Step on it if you have to. Then, pull the handle back just enough to crack the surface and lift the soil slightly.
The Goal: You are not turning the soil over. You are just opening cracks. These cracks allow water and compost to trickle down deep.
Note: Unsure if you actually have clay? Before you start digging, take 5 minutes to do the Jar Test Method (coming soon) or check your acidity with our Vinegar & Baking Soda Test. Clay is often acidic.
Step 2: The “Organic Bomb” (Amendments)
Clay particles are tiny flat plates that stick together like a deck of wet cards. To push them apart, you need organic matter. This is the single most important step.
You need to add 4 to 6 inches of organic matter on top of your beds immediately after aerating.
The Best Amendments for Clay:
Leaf Mold: Shredded, decomposed leaves are gold for clay. Fungi love leaves, and fungal threads help bind clay particles into crumbly “aggregates.”
Finished Compost: This adds immediate nutrition and biology. (See our guide on Raised Bed Soil Mixes to learn what goes into good compost).
Coarse Wood Chips: Use these strictly as a top mulch. As they break down, they prevent the clay surface from baking into a crust.
⚠️ The “Sand Trap” Warning
Never add sand to clay. Many people think “Clay + Sand = Loam.” This is false. Clay + Sand + Water = Concrete. Unless you add massive amounts (50%+ volume), adding a little sand just fills the tiny air pockets and makes the soil harder. Stick to organic matter.
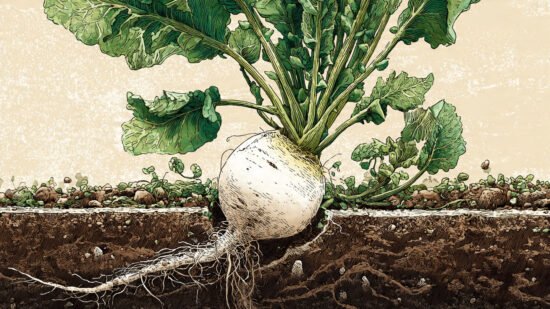
Step 3: Nature’s Drill (Cover Crops)
Why dig the soil yourself when plants can do it for you? Certain plants have taproots strong enough to drill through compacted clay.
The #1 Weapon: Daikon Radish (Forage Radish) These look like giant white carrots. They grow deep into the clay, breaking up compaction layers.
The Trick:Don’t harvest them! Let the frost kill the radish in winter. It will rot in the ground, leaving a massive, nutrient-filled hole that acts as a superhighway for air, water, and earthworms.
The Gypsum Myth: Busted
You will often hear old-school farmers recommend “Gypsum” (Calcium Sulfate) to fix clay.
The Truth: Gypsum only works on a very specific type of clay called “Sodic Clay” (high salt), found in coastal or arid regions.
The Test: If you don’t live near the ocean or a salt flat, Gypsum will likely do nothing for your structure. Save your money and buy more compost.
Step 4: The Waiting Game (Winter Schedule)
The best time to fix clay soil is in the Autumn.
Timeline
Action
October
Broadfork the bed to open deep cracks.
November
Top dress with 4 inches of compost and shredded leaves.
Winter
Let rain/snow wash the compost “tea” down into the cracks. Freeze/thaw cycles expand the soil naturally.
Spring
Plant directly into the top layer. Do not dig up the heavy clay underneath!
By following this method, your “workable zone” will get deeper by about 2–3 inches every single year.
Summary
You don’t need to remove your clay soil; you just need to change its structure.
Don’t Till: It creates hardpan.
Aerate: Use a fork to crack the ground.
Amend: Add massive amounts of compost on top (No Sand!).
Plant Spikes: Use Daikon Radishes to drill holes for you.
Once your soil structure is fixed, you need to maintain it. Read our guide on Organic Fertilizer Numbers Explained to keep that new soil nutrient-rich.
Why this video is included: This video from John & Bob’s Smart Soil Solutions is a step-by-step, practical guide showing how to transform heavy, compacted clay soil into fertile, workable garden soil without chemicals. It visually demonstrates the techniques that gardeners struggle with — exactly what you want to learn.
What viewers will learn:
How to loosen and amend clay soil using organic methods (e.g., compost and natural soil products) so it becomes more workable and fertile for vegetables.
Techniques to improve drainage and soil structure so that plant roots can access water and nutrients more effectively, which is essential for a thriving vegetable garden.
Why This Video Is Included
I felt this video would be especially helpful for you because it allows you to visually see the soil-improvement process in action, making the steps we discuss in the above article easier to understand and apply in your own vegetable garden. Seeing how heavy clay soil responds to organic amendments provides clarity and confidence, especially if you are new to working with dense or compacted soil.
This video supports the same organic, long-term approach outlined in the article by demonstrating how improving soil structure, drainage, and biological activity can transform clay soil into a productive growing environment.
What You Will Learn
By watching this video, you will:
See how the steps we discuss in the above article are applied directly to heavy clay soil in a real garden setting.
Learn how compost and organic materials physically change soil structure to improve drainage and root development.
Understand how encouraging soil life contributes to healthier vegetables and more resilient garden beds over time.
Thank you to Ben Huttash for this great and helpful video. We appreciate creators who share practical, experience-based gardening knowledge. Please visit his channel for more gardening tips—we love to support our neighbors and those who help gardeners grow better food.
Leave a Reply