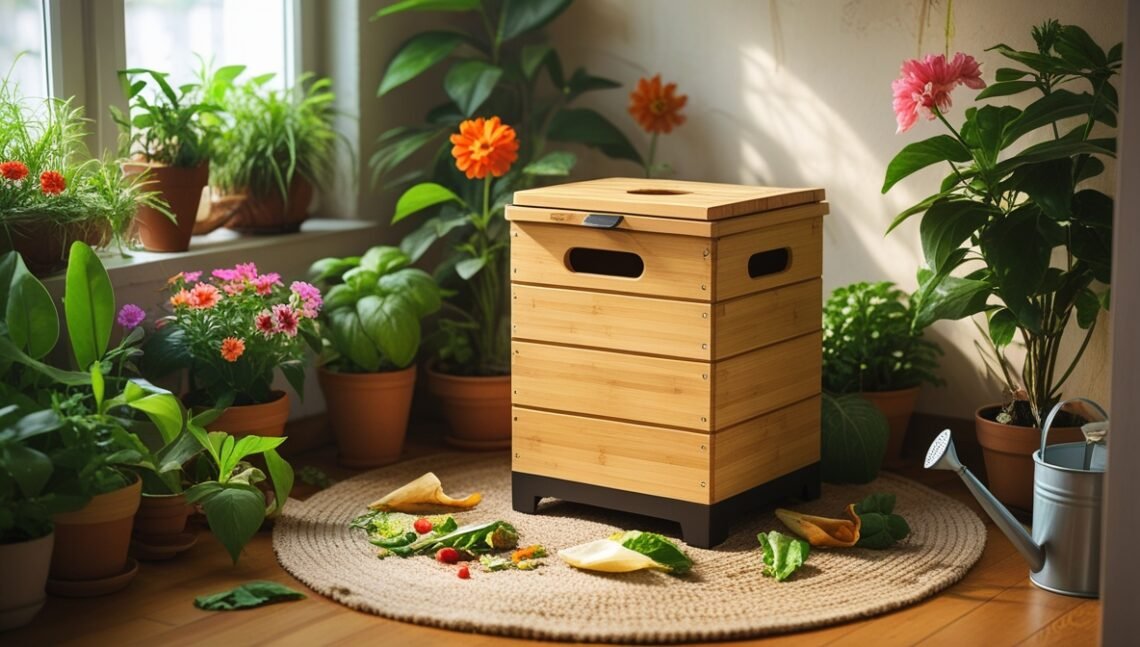
Apartment Composting: The Complete Guide to Creating Black Gold for Small Spaces
Living in an apartment shouldn’t mean you’re disconnected from the earth’s natural cycles. When I first moved into a city apartment years ago, my balcony garden was my sanctuary, but my plants were struggling. They lacked vitality, and I was throwing away bags of kitchen scraps that I knew could be put to better use. That’s when my journey into apartment composting began. With over 15 years of hands-on experience in urban gardening and sustainable living practices, I’ve since helped thousands of apartment dwellers—just like you—transform their food waste into “black gold,” the nutrient-rich foundation of any thriving organic garden.
This guide is the culmination of that experience. We’ll demystify the process, break down the best methods for any space, and give you the confidence to start creating a closed-loop system right in your own home, without odors, pests, or mess.

What Is Apartment Composting, and Why Bother?
Apartment composting refers to a range of methods specifically designed to break down organic waste within the confines of a small indoor space. Unlike a sprawling backyard pile, these are contained, efficient systems that manage moisture, control odors, and fit seamlessly into your life.
But why should you start? The benefits extend far beyond just feeding your houseplants.
-
For Your Plants: You will create the world’s best soil amendment, teeming with beneficial microbes and essential nutrients. This homemade compost dramatically improves soil structure, aeration, and water retention, leading to healthier roots, stronger growth, and increased pest resistance. You’ll be providing a complete, natural fertilizer that store-bought products simply can’t replicate.
-
For Your Wallet: You eliminate the need to buy expensive bags of compost and fertilizer. You also reduce your household trash volume, which can lower waste disposal fees in some municipalities.
-
For The Planet: Food scraps in landfills decompose anaerobically (without oxygen), producing methane, a potent greenhouse gas. By composting, you divert this waste, cutting your carbon footprint. You are actively participating in a cycle of renewal, contributing to better soil health on a micro-scale.
The 3 Best Apartment Composting Methods: A Deep Dive
The key to success is choosing the right method for your space, lifestyle, and the type of waste you produce. Let’s explore the top three contenders in detail.
1. Vermicomposting (Worm Composting): The Living Soil Factory
This is the gold standard for many apartment dwellers. Vermicomposting is an incredibly efficient, odor-free method that uses specific composting worms (not earthworms from your garden!) to do the work. It’s less about decomposition and more about digestion, resulting in one of the most coveted soil amendments available: worm castings.
The Science: Red Wiggler worms (Eisenia fetida) are voracious eaters that live in the top layers of decaying organic matter. They breathe through their skin and thrive in a moist, controlled environment. As they consume your kitchen scraps, their digestive system breaks down the material and introduces a spectacular array of microorganisms and enzymes. The end product, worm castings or vermicompost, is a perfectly pH-balanced, nutrient-rich humus.
Space Requirements: A standard stacking or single-level worm bin is compact, often measuring around 16″ x 24″ x 8″. It can be tucked under a kitchen sink, in a closet, on a shaded balcony, or in a utility room.
Timeline: You can start harvesting small amounts of rich, dark vermicompost in 3-6 months. A mature bin is a continuous system.
Pros:
-
Produces superior quality, living soil amendment.
-
Completely odorless when managed correctly.
-
Engaging and educational process.
-
Operates at room temperature.
Cons:
-
Requires live animals that need care.
-
Cannot process meat, dairy, or oily foods.
-
Can be sensitive to temperature extremes and acidity.
Getting Started with a Worm Bin:
-
Obtain a Bin: You can buy a pre-made stacking system (like a Worm Factory 360) or build a simple DIY bin from two opaque storage totes.
-
Prepare the Bedding: Worms need a moist, carbon-rich home. Shred newspaper (avoiding glossy pages), cardboard, and dried leaves. Moisten it with a spray bottle until it feels like a wrung-out sponge. Fill the bin about three-quarters full with this fluffy bedding.
-
Introduce the Worms: Order 1-2 pounds of Red Wiggler worms online or from a local garden supplier. Gently place them on top of the bedding. They will burrow down within minutes.
-
Let Them Settle: Leave the worms alone for the first week to acclimate to their new home before you start feeding them.
2. Bokashi Composting: The Fermentation Powerhouse
Originating from Japan, Bokashi is not technically composting but an anaerobic fermentation process. It uses a special inoculant—Bokashi bran—to pickle your food waste in an airtight container. Its superpower is its ability to handle all food scraps, including meat, dairy, and cooked oils that are forbidden in other systems.
The Science: Bokashi bran is typically a wheat or rice bran that has been inoculated with a combination of Effective Microorganisms (EM). These are specific strains of lactic acid bacteria, yeast, and phototrophic bacteria. In an airtight (anaerobic) bucket, these beneficial microbes ferment the food scraps, pre-digesting them without the putrid smell of decomposition. The process prevents the growth of odor-causing pathogens.
Space Requirements: A Bokashi system requires two 5-gallon buckets with airtight lids. One bucket should have holes drilled in the bottom and nest inside the other to allow for drainage of the “Bokashi tea.” The system is compact enough for any kitchen corner.
Timeline: The fermentation stage is fast, taking only 2-4 weeks. However, the fermented product is not finished compost. It’s highly acidic and must be buried in soil or added to a traditional compost pile for another 4-6 weeks to fully break down.
Pros:
-
Processes all food waste, including meat, dairy, and fats.
-
Very fast initial processing time.
-
Airtight system means no odors or pests during fermentation.
-
Produces a nutrient-rich liquid fertilizer (Bokashi tea).
Cons:
-
The finished product requires a “second step” of burial in soil, which can be a challenge for apartment dwellers without large planters or outdoor access.
-
The fermented material has a strong, sour, pickle-like smell when opened.
-
Requires ongoing purchase of Bokashi bran.
Getting Started with Bokashi:
-
The System: Get a dedicated Bokashi bucket system or make your own with two nesting buckets and a gamma seal lid.
-
Add Scraps: Add a layer of food scraps to the bucket. Chop larger items into smaller pieces to increase surface area.
-
Sprinkle Bran: For every inch of food scraps, sprinkle a tablespoon of Bokashi bran over the top.
-
Compress: Use a potato masher or a plate to press the waste down firmly. This removes air pockets, which is crucial for the anaerobic process.
-
Seal It: Seal the lid tightly. Repeat this process until the bucket is full.
-
Drain the Tea: Every few days, drain the liquid that collects in the bottom bucket. This “Bokashi tea” is a potent liquid fertilizer but must be diluted 1:100 with water before applying to plants.
-
Ferment: Once the bucket is full, seal it and leave it to ferment for 2 weeks in a warm, dark place.
3. Electric Composters: The High-Tech Solution
For those who prioritize speed and convenience, electric countertop composters are a modern marvel. These appliances use heat, agitation, and airflow to rapidly dehydrate and break down food scraps into a dry, ground material in a matter of hours to days.
The Science: Most electric composters aren’t creating true, microbially active compost. They are primarily dehydrators and grinders. A heating cycle kills pathogens and reduces volume, while internal blades grind the material. The resulting output is a sterile, dry soil amendment. While it contains the base nutrients from the food scraps, it lacks the vibrant community of microorganisms found in vermicompost. To unlock its full potential for living soil, it should be mixed into existing soil where it can be colonized by local microbes.
Space Requirements: Most units are about the size of a bread maker or a large coffee machine and are designed to sit on your countertop.
Timeline: Incredibly fast. Finished material is produced in as little as 3 hours to 2 weeks, depending on the model and cycle.
Pros:
-
Extremely fast and convenient.
-
Can handle most food scraps, including some meat and dairy (check manufacturer specs).
-
Minimal odor due to carbon filters.
-
Reduces food waste volume by up to 90%.
Cons:
-
High initial purchase price.
-
Requires electricity to run.
-
Produces a sterile soil amendment, not a microbially rich compost.
-
Ongoing costs for carbon filters.
-
Can be noisy during operation.
Comparison of Apartment Composting Methods
| Feature | Vermicomposting (Worms) | Bokashi Composting | Electric Composter |
| Final Product | Nutrient-rich, microbially active castings | Acidic, fermented material (needs curing) | Dry, sterile, ground soil amendment |
| Speed | 3-6 months | 2-4 weeks (ferment) + 4-6 weeks (cure) | 3 hours – 2 weeks |
| Waste Handled | Veggies, fruit, coffee, grains | All food waste, including meat & dairy | Most food waste, some models take meat |
| Odor Risk | Very Low (Earthy smell) | Low (Pickle smell when open) | Very Low (Uses carbon filters) |
| Space Needs | Small (Under sink, closet) | Small (Kitchen corner) | Small (Countertop) |
| Upfront Cost | Low to Medium | Low | High |
| Ongoing Cost | Very Low (Minimal) | Medium (Bokashi bran) | Medium (Electricity, filters) |
| Effort Level | Medium (Weekly check-ins) | Medium (Daily additions, final burial) | Low (Load and press start) |
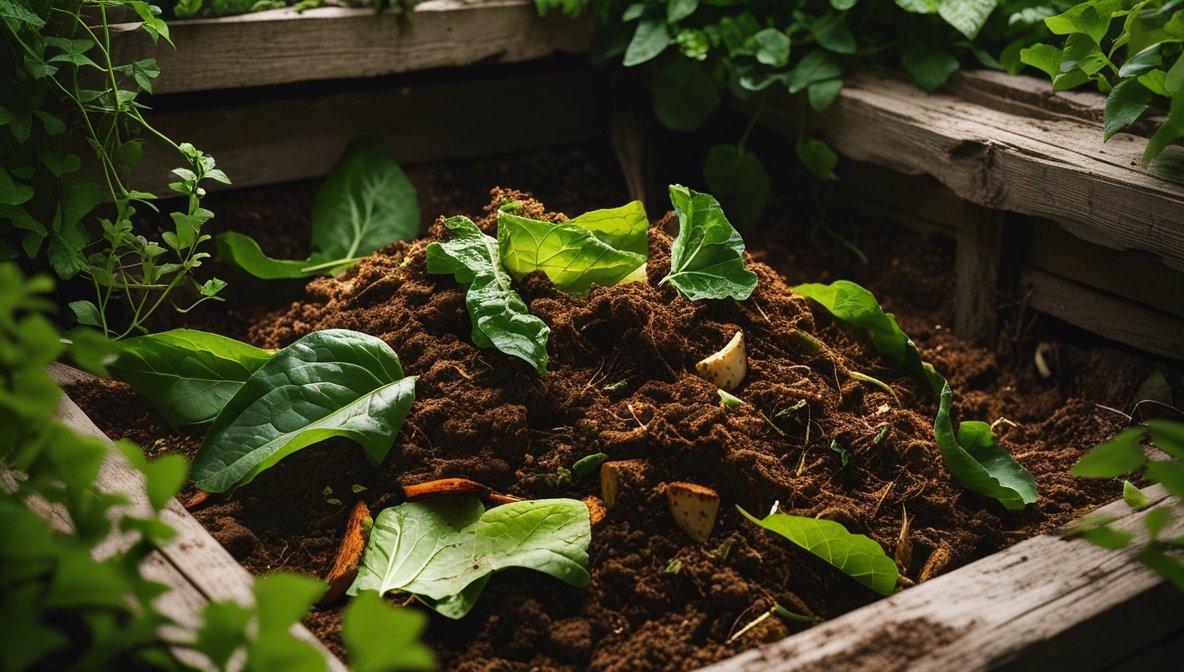
What to Compost in Your Apartment: The Green and Brown Rule
Successful composting is all about balancing two types of materials: “Greens” (Nitrogen-rich) and “Browns” (Carbon-rich). Aim for a ratio of roughly 1 part green to 2-3 parts brown by volume for a healthy, odor-free system (this is most critical for vermicomposting).
Green Materials (Nitrogen-Rich)
-
Vegetable and fruit scraps (apple cores, banana peels, carrot tops)
-
Coffee grounds and paper filters
-
Tea bags (remove staples)
-
Crushed eggshells (adds valuable calcium for plant vitality)
-
Houseplant trimmings
Brown Materials (Carbon-Rich)
-
Shredded newspaper and non-glossy cardboard
-
Paper towels and napkins (unsoiled by chemicals)
-
Dry leaves (a fantastic source of organic matter)
-
Coconut coir or peat moss (used for bedding)
-
Sawdust (from untreated wood only)
Items to Avoid (in Worm Bins)
-
Meat, fish, bones, and dairy products (attract pests and cause odor)
-
Oils, fats, and greasy foods
-
Pet waste (can contain harmful pathogens)
-
Diseased plants
-
Glossy or coated paper
-
Onions, garlic, and large amounts of citrus (can make the bin too acidic for worms)
Maintaining Your Apartment Composting System
Consistency is your best friend. Create a simple routine.
Daily:
-
Collect kitchen scraps in a countertop caddy.
-
Add scraps to your system according to its specific needs (e.g., for Bokashi, add scraps and bran; for worms, bury a small amount under the bedding).
Weekly:
-
Check Moisture: For worm bins, the bedding should feel like a damp sponge. Mist with a spray bottle if dry; add dry, shredded paper if too wet.
-
Aerate (if applicable): Gently fluff the top layers of a worm bin with a small garden fork to ensure airflow.
-
Drain Liquid: Drain the “tea” from your Bokashi bucket every 2-3 days.
-
Check for Problems: Look for any signs of odor, pests, or worms trying to escape. These are clues that something is out of balance.
Monthly:
-
Harvest Finished Compost: Once your system is mature, begin a monthly harvesting schedule. For stacking worm bins, this means emptying the bottom tray. For Bokashi, a full bucket will be ready for its soil burial.
-
Add Fresh Bedding: Replenish the carbon material in your worm bin to maintain balance and volume.
-
Clean Equipment: Wipe down the exterior of your bins and clean your countertop caddy.
Troubleshooting Common Issues
Don’t be discouraged by bumps in the road! Every composter has a learning curve.
-
Problem: My bin smells bad!
-
Cause: A foul, rotten smell is usually from anaerobic conditions (too wet, not enough air) or the addition of prohibited foods like meat/dairy. An ammonia smell means too much nitrogen (too many greens).
-
Solution: Gently turn the compost to aerate it. Add a generous amount of dry, brown materials like shredded cardboard or paper. Stop adding food for a week to let the system rebalance.
-
-
Problem: I have fruit flies!
-
Cause: Exposed food scraps are a magnet for fruit flies.
-
Solution: Always bury food scraps at least 2 inches deep under the worm bedding or a layer of carbon. For Bokashi, ensure your lid is completely airtight. You can also set a small trap nearby (a jar with apple cider vinegar and a drop of dish soap).
-
-
Problem: My worms are trying to escape the bin.
-
Cause: The conditions inside the bin are inhospitable. It’s likely too wet, too dry, or too acidic.
-
Solution: Check the moisture level immediately. If the bin was recently fed a lot of acidic food (like citrus or tomatoes), add a small sprinkle of crushed eggshells to neutralize the pH. Ensure adequate, but not excessive, ventilation.
-
-
Problem: The process seems very slow.
-
Cause: Composting slows in cooler temperatures. It can also be a sign of an improper carbon-to-nitrogen ratio or not enough moisture.
-
Solution: Move the bin to a slightly warmer location if possible. Ensure you’re adding a good mix of greens and browns, and check that the materials are damp enough to support microbial life. Chopping food scraps into smaller pieces will also speed up decomposition.
-
How to Use Your Finished Compost: The Ultimate Reward
This is where your effort pays off, directly impacting the health and vitality of your plants.
-
Creating a Premium Potting Mix: For a superior, chemical-free potting mix, blend your finished compost with other elements. A great all-purpose recipe is 2 parts coco coir, 1 part finished compost, and 1 part perlite or pumice for drainage. This creates a light, airy, and nutrient-rich medium for your houseplants.
-
Top Dressing: The easiest way to feed established plants. Simply sprinkle a 1/2-inch to 1-inch layer of your finished compost on top of the soil in your pots and gently work it in. Water as usual. The nutrients will slowly release into the soil every time you water.
-
Making a Compost Tea: For a powerful liquid fertilizer, you can brew compost tea. Place a cup of finished vermicompost in a porous bag (like a nylon stocking) and steep it in a 5-gallon bucket of dechlorinated water for 24 hours. An aquarium air pump with an air stone will aerate the mixture, multiplying the beneficial microbes. Dilute the resulting tea until it’s the color of weak iced tea and use it to water your plants.
Start Your Composting Journey Today
Apartment composting is more than a way to manage waste; it’s a way to reconnect with the natural fertilizer cycles of the earth. It’s a rewarding, hands-on activity that fosters a deeper understanding of the ecosystem in your own home and garden.
Begin by assessing your space and lifestyle. Are you a busy, tech-savvy person who values convenience? An electric composter might be for you. Are you fascinated by biology and want the highest quality compost? Start a worm bin. Do you generate a lot of varied food waste and have access to a large planter? Bokashi could be your answer.
Start small, be patient, and observe. Your composting system is a living thing, and learning its rhythms is part of the joy. With a little consistency, you’ll soon be turning everyday kitchen scraps into a powerful resource that will make your indoor garden thrive, all while making a positive impact on the environment.