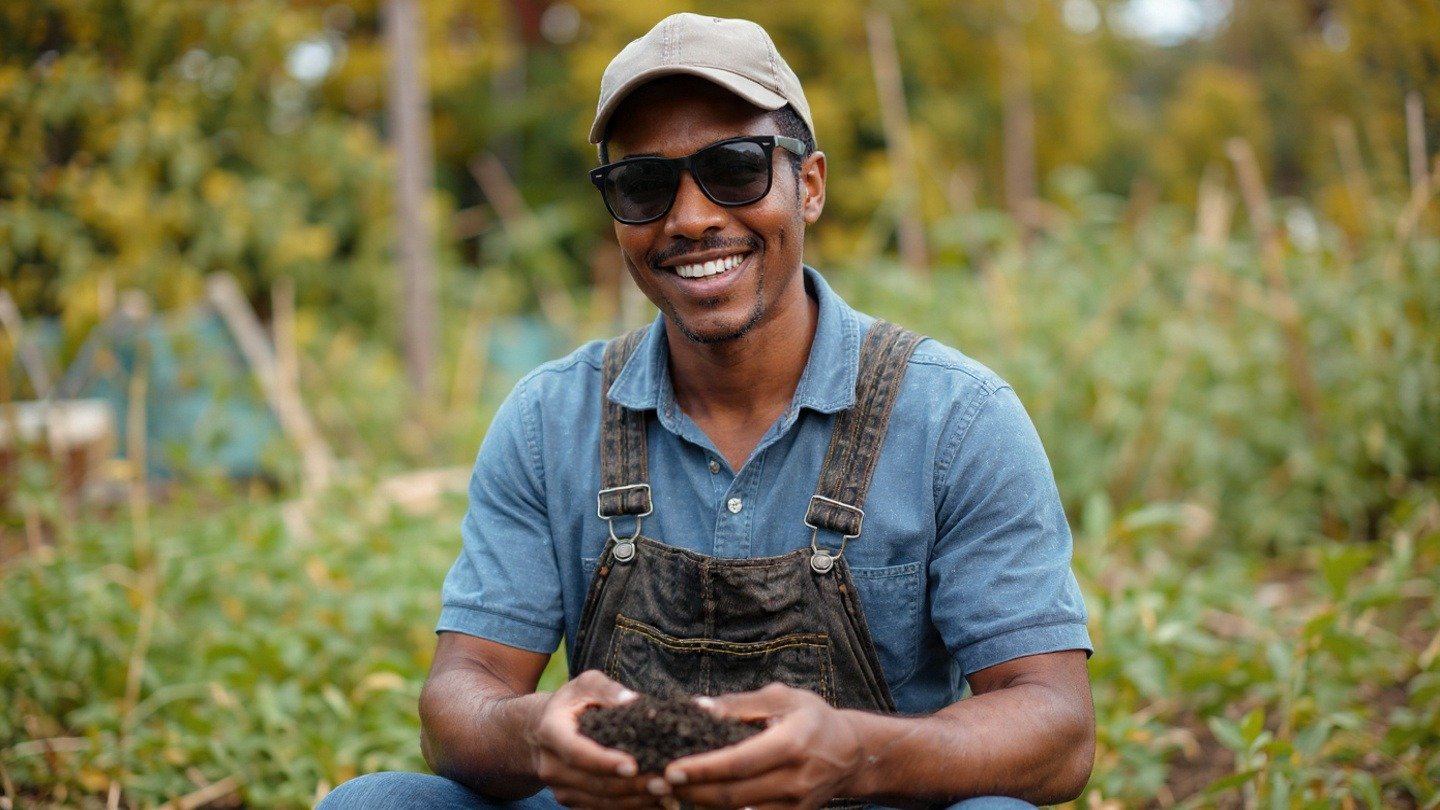
If you have ever bought a beautiful vegetable plant, put it in the ground, and watched it slowly turn yellow and die, you are not a “black thumb.” You probably just have poor soil.
Most beginners obsess over which plants to buy. Experienced organic gardeners obsess over dirt.
The secret to a thriving organic garden isn’t expensive fertilizer or magic gadgets; it is soil health. When you focus on building a rich, living soil ecosystem, the plants essentially grow themselves.
In this ultimate guide, we will walk you through exactly how to turn dead dirt into “black gold,” whether you are dealing with rock-hard clay, loose sand, or just a patch of grass you want to convert into a garden.
Quick Summary: The Perfect Soil Recipe
Healthy organic soil needs three things to thrive:
-
Structure: (Sand/Silt/Clay) to hold roots in place.
-
Nutrients: (Organic Matter/Compost) to feed the plants.
-
Life: (Microbes/Worms) to break down the food.
-
The Goal: A “Loam” texture that drains well but holds moisture like a wrung-out sponge.*
What is “Organic” Soil, Anyway?
Before we start digging, we need to understand what we are trying to build. In the world of conventional gardening, soil is just a dead holder for plant roots. You pour blue chemical water (synthetic fertilizer) onto the plant, the plant drinks it, and it grows.
In organic gardening, the soil is alive.
Healthy organic soil is a complex food web filled with billions of microscopic bacteria, fungi, nematodes, and earthworms. Here is how it works:
-
You feed the soil with organic matter (like compost or leaves).
-
Microbes eat that organic matter and poop out nutrients (bio-available food).
-
Your plant roots absorb those nutrients exactly when they need them.
If you use chemical fertilizers, you starve these beneficial microbes. Once they die, your soil becomes dependent on the chemicals. To break that cycle, we have to start building the soil structure naturally.
Step 1: Know What You Are Working With (The Jar Test)
You cannot fix your soil if you don’t know what is wrong with it. Most backyard soil falls into one of three categories:
-
Clay Soil: Sticky when wet, rock-hard when dry. Nutrients get trapped, and roots can’t breathe.
-
Sandy Soil: Water and nutrients drain right through it. Plants dry out constantly.
-
Silt/Loam: The “Goldilocks” soil that drains well but holds moisture. This is our goal.
How to Perform the Mason Jar Soil Test
You don’t need a scientist. You just need a jar.
-
Dig a small amount of soil from 6 inches deep in your garden.
-
Fill a clear glass jar halfway with the soil.
-
Fill the rest with water, leaving an inch of air at the top.
-
Add a drop of dish soap (this helps separate the particles).
-
Shake it violently for 3 minutes.
-
Set it on a flat surface and do not touch it for 24 hours.
Reading Your Results:
-
Bottom Layer (Sand): Heavier particles settle first. If this is huge, you have sandy soil.
-
Middle Layer (Silt): This settles next.
-
Top Layer (Clay): Fine clay particles take the longest to settle. If you have a thick layer of “sludge” on top, you have clay-heavy soil.
Need a fix?
If you found heavy clay, read our guide on How to Improve Clay Soil Without Tilling.
If you are starting fresh in a box, read The Best Organic Raised Bed Soil Mix.
Step 2: The Holy Trinity of Soil Amendments
To build organic gardening soil from scratch, you need to add three main components. Think of this as a recipe.
1. Compost (The Nutrition)
Compost is decomposed organic material. It is the fuel for your soil ecosystem.
-
Why you need it: It provides a slow-release drip feed of nitrogen, phosphorus, and potassium.
-
How much: Mix in at least 2–3 inches of compost into the top layer of new beds.
2. Aeration Material (The Lungs)
Roots need oxygen. If your soil is too dense, roots suffocate.
-
Perlite/Vermiculite: The little white rocks in potting mix that prevent compaction.
-
Lava Rock: A cheaper alternative for large beds.
-
Warning: Never add sand to clay soil! It creates concrete.
3. Moisture Retainers (The Sponge)
-
Coco Coir: Made from coconut husks. It holds 10x its weight in water.
-
Peat Moss: A common alternative, though less sustainable than coir.
Step 3: Testing and Adjusting pH
Soil pH measures how acidic or alkaline your dirt is. It is measured on a scale of 0 to 14.
-
The Sweet Spot: Most vegetables want a pH between 6.0 and 7.0.
If your pH is off, the plants effectively “lock up.” There might be plenty of nutrients in the soil, but the plant chemically cannot absorb them.
How to fix it:
-
To raise pH (too acidic): Add Garden Lime.
-
To lower pH (too alkaline): Add Elemental Sulfur.
Stop Guessing: You can test this right now for free. Read our guide: How to Test Soil pH at Home (Vinegar & Baking Soda Method).
Step 4: The “No-Dig” Approach (Why Laziness Wins)
Traditionally, farmers plow their fields every year. However, modern organic science suggests this is bad for home gardens.
Every time you till or dig deeply, you slice up earthworms and break the fungal networks (mycorrhizae) that help plants drink.
Try “Lasagna Gardening” instead:
If you want to start a new garden bed over grass, don’t dig up the grass.
-
Mow the grass as short as possible.
-
Lay down plain brown cardboard over the grass.
-
Soak the cardboard with water.
-
Pile 6 inches of your Organic Soil Mix right on top.
The cardboard suffocates the weeds and eventually rots away, feeding the soil.
Maintenance: Feeding the Soil, Not the Plant
Once your garden is planted, your job isn’t done. Organic soil is a living thing that gets hungry.
-
Mulch, Mulch, Mulch: Cover any exposed dirt with 2 inches of straw or leaves. This prevents weeds and keeps moisture in.
-
Crop Rotation: Don’t plant tomatoes in the same spot 5 years in a row. They are heavy feeders.
-
Fertilize Smart: Use organic fertilizers to replenish the nutrients. Read our guide on Organic Fertilizer Numbers Explained to know exactly what to buy.
Summary: Your Soil Action Plan
Building organic soil takes patience. However, if you follow these steps, you will notice that every year your garden gets better.
-
Do the Jar Test: Identify your soil type.
-
Gather Materials: Buy Compost (Food) and Coco Coir (Water).
-
Start No-Dig: Use cardboard to smother weeds.
-
Test pH: Ensure your plants can actually eat the food.
Helpful Video Resource
Why This Video Is Included
I felt this video would be especially helpful for you because it allows you to visually see the soil-improvement process in action, making the steps we discuss in the above article easier to understand and apply in your own vegetable garden. Being able to watch how heavy clay soil responds to organic amendments gives you confidence in what to do and how it works in real life, rather than just reading about it.
This video supports the same organic approach the article explains—adding large amounts of compost to transform dense clay into workable, fertile soil that drains better and supports productive vegetables.
What You Will Learn
By watching this video, you will:
- See how the steps we discuss in the above article are applied directly in a garden with heavy clay soil.
- Learn how adding organic compost changes soil structure to improve drainage and root penetration.
- Understand how increased microbial activity and earthworm presence contribute to long-term soil health.
Thank you to Ben Huttash from the Ben Huttash YouTube channel for this great and helpful video. If you find this content valuable, please visit his channel for more gardening tips—we love to support our neighbors and those who share quality, experience-based gardening advice.
For those working with heavy ground, using a broadfork for clay soil is a game changer.
Leave a Reply